
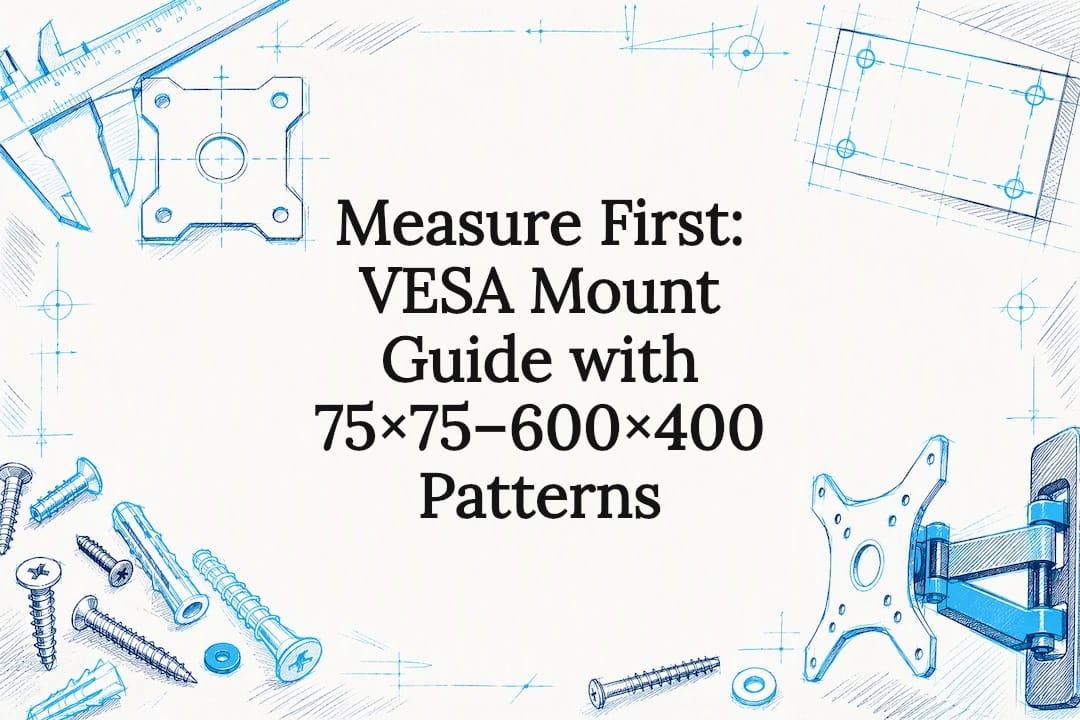
VESA is the industry standard for the four-hole mounting interface on the back of monitors and TVs. Before you buy a mount, confirm three things: the hole pattern in millimetres, the screw thread and length, and the actual weight of your display. If any of the three do not line up, stop and use a certified adapter or get professional help rather than force a fit.
TL;DR:
- Confirm your display’s VESA pattern by measuring hole spacing accurately with a caliper to ensure compatibility with the mount’s supported sizes.
- Check the screw thread type and length, typically M4, M6, or M8, by testing the screw fit before installation to avoid damage or incomplete attachment.
- Weigh the display without the stand and ensure it falls within the mount’s rated capacity, adding a 20% safety margin for heavier or larger screens.
- Match mount type—fixed, tilting, or articulating—to your space, considering display size and how often you need to adjust viewing angles.
- For non-standard or large displays, use certified adapter plates or hire professional installers to guarantee safety and proper fit.
Table of Contents
- What the VESA standard actually specifies
- Common VESA sizes and what they fit
- How to check your display for VESA compatibility
- Types of mounts and how to choose one
- Step-by-step installation essentials
- Adapters and troubleshooting non-VESA displays
- Safety checklist and common installation mistakes
- How ULTI can help with mounts and installation
- Ergonomics versus aesthetics
- Get matched to the right mount
- Primary standards and installation manuals to consult
- Sources
- FAQ
What the VESA standard actually specifies
VESA stands for the Video Electronics Standards Association, and the mounting spec itself is formally called the Flat Display Mounting Interface, or FDMI. It defines the four-hole pattern on the back of a screen, along with the screw threads and the weight range each pattern is expected to carry. The FDMI overview sets out MIS parts B through F, which cover displays from around 4 inches up to 90 inches and weights up to 113.6 kg (250 lb).
Each MIS part corresponds to a size and weight band: smaller patterns for compact monitors, larger squares for big TVs. That structure is why a mount rated for one part will not safely take a screen designed for another. Compliance with VESA guides compatibility, but it is not an absolute guarantee: some manufacturers ship displays with non-standard variants, so the datasheet or manual still has the final word.

Common VESA sizes and what they fit
VESA patterns are described by the horizontal and vertical distance between screw centres, in millimetres. Smaller monitors typically use 75×75 mm or 100×100 mm, both squares. Mid-size monitors and some 32-inch TVs commonly use 100×100 mm or 200×100 mm. Larger displays step up to 200×200 mm, then 400×400 mm for many 55-inch TVs, and 600×400 mm for 65-inch and larger sets, according to a Singapore installation guide.

Most patterns are square, but some displays use rectangular layouts, particularly on ultrawide monitors. Beyond 400×400 mm, manufacturers sometimes deviate into non-square or odd-numbered spacings within the larger MIS-F category, a variation documented on Wikipedia. Mounts also differ in whether the plate centres on the screen or sits offset near the top edge, so check that detail against your display's own hole layout before assuming a match.
How to check your display for VESA compatibility
Start by removing the stand or any rear cover, since some monitors hide the mounting holes behind a panel. Once exposed, measure the horizontal and vertical distance between hole centres using a metric ruler or, for accuracy, a caliper, as recommended in this VESA compatibility check guide. Round to the nearest standard pattern rather than guessing.
Next, confirm the screw thread. Most VESA mounts use M4, M6 or M8 screws depending on the pattern size, and getting this wrong is one of the most common causes of a failed fit, per BenQ's monitor arm guidance. Test the screw by hand before committing to a full installation.
- Measure hole centres in millimetres, not inches, to avoid rounding errors.
- Check the manufacturer's manual or datasheet for the listed VESA pattern and screw spec.
- Weigh the display with the stand removed and compare it against the mount's rated capacity, adding the 20% buffer mentioned earlier.
Types of mounts and how to choose one
Fixed mounts hold the screen flush against the wall with no movement, ideal when you have already set the perfect eye height and do not need to adjust the angle. Tilting mounts add a few degrees of vertical pivot, useful for TVs mounted above eye level. Full-motion or articulating arms extend, swivel and tilt, which suits desks and rooms where viewing position changes throughout the day.
Match your choice to three things: the VESA range the mount supports, its weight capacity, and the wall or desk it will attach to. A mount rated for 200×200 mm will not take a 600×400 mm TV, regardless of how strong it looks.
- Fixed mounts suit displays with a settled position and no need for adjustment.
- Tilting mounts help when the screen sits higher than eye level.
- Articulating arms fit desks or shared spaces where the viewing angle changes often.
Pro Tip: Pick a mount rated at least 20% above your display's actual weight, and for articulating arms, spend the extra attention on anchor quality rather than the arm's reach.
Step-by-step installation essentials
Before drilling anything, run through your pre-checks: confirm the mounting height against seated or standing eye level, check for glare from windows, plan your cable route, and scan the wall for live wiring. Identify whether you are working with drywall, a stud frame, or solid concrete, since that decision shapes every anchor choice that follows.
- Mark the mounting template on the wall and confirm it is level before drilling.
- Drill pilot holes sized to the anchor you are using, concrete anchors for solid walls, toggle or stud-rated fixings for stud frames.
- Attach the wall plate securely, checking that lag bolts or anchors are seated fully rather than just snug.
- Fit the display brackets to the screen using the correct VESA screws, tested by hand first.
- Hang the display on the wall plate and engage the locking mechanism most mounts include.
- For monitor arms, choose between a desk clamp and a grommet mount, and confirm the desktop is thick and rigid enough to bear the load.
- Attach the VESA plate to the arm, set the tension to match the display's weight, and route cables through the arm's built-in channels.
Many manufacturer manuals require fixing into a stud or solid concrete rather than drywall alone, a point emphasised in installation documentation from mount makers such as Sanus. Local guidance for Philips TV installations also stresses stud detection and choosing anchors suited to partition versus structural walls. If you are working with a large or heavy screen, an unfamiliar wall type, or tight space constraints, hiring a professional installer is the safer route.
Adapters and troubleshooting non-VESA displays
Not every screen ships with standard VESA holes. When that happens, an official manufacturer adapter plate is the safest route, since it is designed for that exact model. Universal steel adapter plates and no-drill clamp adapters are a workable second option, but you need to verify the weight rating and confirm full screw engagement before trusting one with a heavy display.
- Official adapters fit precisely and carry a manufacturer weight rating.
- Universal plates work for odd hole spacing but must be checked for load capacity.
- Clamp or no-drill adapters suit lighter monitors where drilling is not possible.
Recessed holes, curved rear panels and mismatched screw lengths are the most common snags. Spacers, sold with most VESA mount kits, solve depth mismatches on curved or recessed backs. A VESA adapter kit for non-VESA monitors is built for this scenario.
Safety checklist and common installation mistakes
Screw length is the detail installers miss most often: too short and the thread fails under load, too long and it punctures internal components, a warning repeated across manufacturer installation manuals. Test every screw by hand before the final fit.
Wall type decides the anchor, not the other way round. Drywall alone should never carry a heavy TV: use stud-rated fixings or concrete anchors as the wall construction demands.
Before you walk away, run three final checks: locking screws fully engaged, cables secured with strain relief so nothing pulls on the bracket, and the display level and firmly seated on the wall plate.
How ULTI can help with mounts and installation
Monitor arms, VESA adapter kits and desk accessories built around verified compatibility are available. Our monitor arms list their supported VESA range directly on the product page, and the adapter kit covers monitors without standard holes.
If you would rather not measure and drill yourself, particularly for a large TV or a wall of unknown construction, our installation service handles the site assessment and the mounting itself. A product guide and compatibility checker reduce the risk of ordering a mount that does not fit before you have even opened the box.
Ergonomics versus aesthetics
Prioritise correct eye height and secure anchors over the slimmest profile. A mount that sits a few millimetres thicker but is properly anchored will always beat a sleek one bolted into drywall.
The modest extra cost of the right mount, or a professional install, is cheaper than a cracked screen or a damaged wall.
— ULTI
Get matched to the right mount
Once you know your VESA pattern, screw thread and display weight, matching a mount becomes straightforward rather than a guessing game. ULTI's range covers single and multi-monitor arms, adapter kits for non-standard displays, and a full catalogue of TV wall mounts and accessories, all with the specifications listed upfront.
- Browse monitor arms with published VESA ranges and weight ratings.
- Use the monitor arm compatibility checker to confirm your match before ordering.
- Check TV stands, wall mounts and accessories for larger screens.
| Need | ULTI option |
|---|---|
| Matched monitor arm | Monitor arms |
| Non-VESA monitor | Adapter kit |
| Large TV, complex wall | Installation service |
If your wall is concrete, a partition, or you are simply not confident with a drill, our installation service team can assess the job and mount it for you.
Primary standards and installation manuals to consult
For the technical spec, read the FDMI overview directly. For wall type and anchor guidance, check your mount's own manual, since minimum concrete thickness and stud spacing requirements vary between manufacturers. Always confirm exact screw length against your display's manual before drilling.
Sources
- VESA Flat Display Mounting Interface (FDMI) overview
- LCD TV wall mount in Singapore: installation & HDB guidelines
- How to check if a monitor is VESA compatible
- Ten things to consider when buying a monitor arm
FAQ
How do I know if my VESA mount is compatible?
Measure the centre-to-centre distance between the mounting holes on your display in millimetres and compare it against the mount's listed VESA pattern. Also check that the mount's weight rating exceeds your display's actual weight, ideally with a safety margin, as detailed in this compatibility check guide.
What does VESA 100x100 mean?
It means the four mounting holes on the back of the display are spaced 100 mm apart both horizontally and vertically, forming a square pattern. This is one of the most common patterns on mid-size monitors, alongside 75×75 mm.
Do VESA mounts fit all TVs?
No. VESA mounts fit only TVs whose hole spacing matches the mount's supported pattern, and some TVs use non-standard variants outside the official FDMI ranges. Larger TVs typically use 400×400 mm or 600×400 mm, according to installation guidance, so always check your model's manual first.
What does 400x400 VESA mean?
It describes a mounting pattern where the four holes sit 400 mm apart both horizontally and vertically. This pattern is common on many 55-inch televisions and falls within the larger MIS-F category of the FDMI standard.