
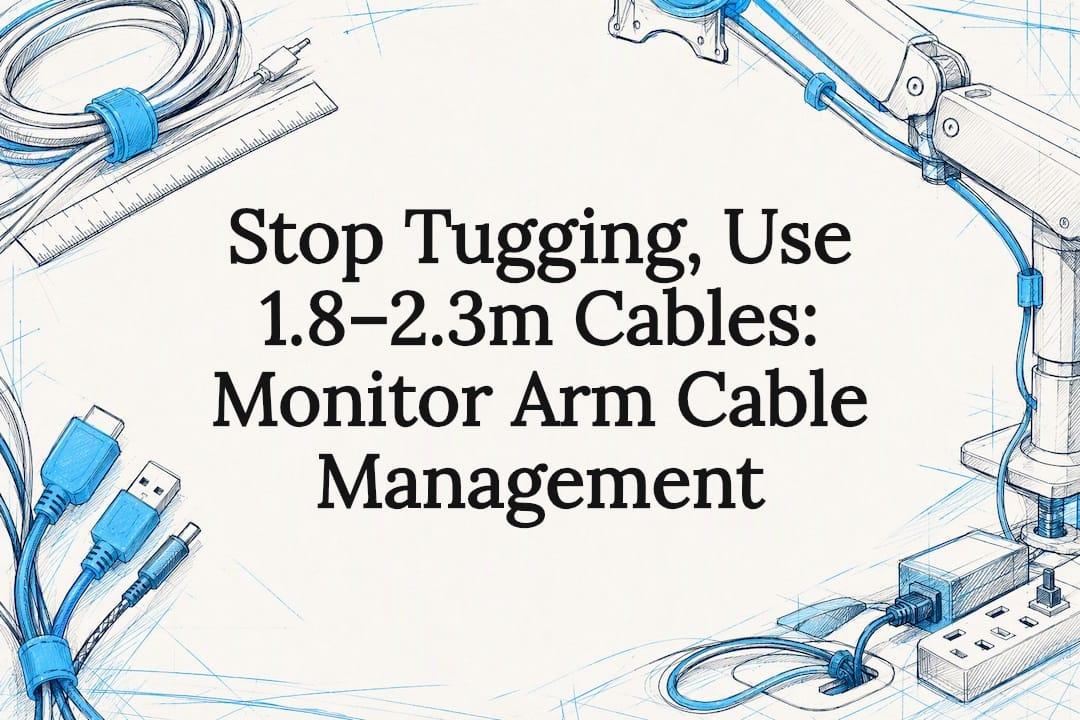
Route your cables through the arm channels from monitor to desk, leaving measured slack at every pivot, and finish with a two-tier setup: a sleeve for the visible vertical run and a tray or spine underneath for power. This keeps your monitor free to move without tugging on a port or straining a connector.
TL;DR:
- Use 1.8 meters of cable for under-desk PC setups, 2.0 meters for riser configurations, and 2.3 meters for vertical monitor stacks, based on routed paths.
- Leave slack at every pivot joint and test the full range of motion before tightening cable clips or ties to prevent tugging or flickering issues.
- Opt for hook-and-loop ties near joints and sleeves for visible runs, with trays or spines under the desk for excess slack and power strips.
- Re-route cables to add slack if the arm resists movement or flickers during height adjustments, avoiding tight or strained connections.
- Choose modular, labeled, and easily accessible cable management solutions for flexibility if monitors or devices are frequently changed.
Table of Contents
- Step-by-step routing: from monitor to power source
- Tools and materials to gather before you start
- Choosing the right cable lengths and slack
- Concealment methods: sleeves, trays and grommet routing
- Fixing arm swing, flicker and stretched plugs
- How ULTI's products and guides support this setup
- Concealment versus serviceability: which should you choose?
- Tidy cables start with the right hardware
- Sources
- FAQ
Step-by-step routing: from monitor to power source
Before you touch a cable, extend the monitor arm to its furthest reach. This one step, recommended in the Secretlab MAGNUS monitor arm setup guide, stops you from routing cables too tight and then finding them yanked or disconnected the first time you swing the arm out.
Work through the setup in this order:
- Disconnect everything and label each cable by function: power, HDMI or DisplayPort, USB, Ethernet.
- Extend the arm fully and measure the routed path, not the straight-line distance, following every arm segment down to the desk and along the under-desk run.
- Connect the cables at the monitor end first, then feed them through the arm's built-in channels towards the desk.
- Leave a service loop of slack at each pivot joint before securing anything.
- Fasten the run with removable clips or hook-and-loop ties, checking that nothing binds when you tilt or rotate the screen.
- Route the remaining slack into an under-desk tray, then test full range of motion before you tidy the last cable.
This sequence matches the routing order recommended by OfficeFurniture2go: monitor end first, then working slack back through the arm sections, with a loop left at every joint.
Pro Tip: Do a full range-of-motion test with the cables loosely clipped before you commit to a final, tighter fastening. It's much easier to add slack now than to unpick a finished job later.

Tools and materials to gather before you start
Good cable management depends on using the right fastener in the right place. Rigid metal zip ties are fine for a static run but will fatigue and snap at a pivot point, so keep them away from anything that moves.
- Hook-and-loop ties for any section near a joint, since they flex without pinching the cable.
- Cable sleeves for the visible vertical run between monitor and arm.
- An under-desk tray or clamp-on spine for excess slack and power strips.
- Magnetic cable guides where you want a tidy, tool-free hold on a metal desk frame.
- Adhesive or screw-mount clips for fixed runs that never need to shift.
Secure runs every 15 to 20 centimetres to control sag while still allowing the cable to move where it needs to.
Choosing the right cable lengths and slack
Buying the wrong cable length is the single most common cause of a tight, strained connection at the monitor. The Secretlab MAGNUS setup guide sets out length ranges by configuration that hold up well across most monitor arm brands.
Recommended lengths: 1.8 metres for a PC mounted under the desk, 2.0 metres for a desk riser setup, and 2.3 metres for a vertical monitor stack. These figures assume you measure the actual routed path, arm segments, pivots and under-desk run included, rather than the direct distance from monitor to socket.

Add extra slack at any pivot, especially on gas-spring arms where height changes happen quickly. Check the cable's maximum diameter against the arm's channel before buying a thicker replacement, since an oversized cable will strain the channel clips and put pressure on the port itself.
Concealment methods: sleeves, trays and grommet routing
A two-tier approach handles most desks well. Use a cable sleeve to bundle the visible vertical run behind the monitor and arm, then let a tray or spine under the desk carry the horizontal power run and any excess slack. Routing vertically first and then horizontally through a tray, rather than letting cables trail loose, is the structure that HP's cable organisation guide points to for cutting down visible clutter.
- Fit a clamp-on tray or spine to the desk edge; most modern designs need no drilling.
- Use grommet routing when your desk has a grommet hole, feeding the main power and data cables straight down into the under-desk tray.
- Choose clamp mounts when there's no grommet, keeping the clamp position clear of the chair's clearance zone.
- Keep the power strip on an accessible panel of the tray so you can service it without dismantling the whole run.
Pro Tip: Grommet routing keeps cables out of sight almost entirely, but a clamp mount is quicker to adjust later if you change monitors or add a second screen.
Fixing arm swing, flicker and stretched plugs
A cable that's too short shows up fast: the arm won't swing freely, the picture flickers when you adjust height, or a plug looks like it's being pulled sideways out of its socket.
- If the arm resists movement, re-route the cable and check the service loop at the nearest pivot rather than tightening the arm's tension knob.
- If the screen flickers or drops signal during adjustment, swap to a longer cable or add slack at the joint closest to the monitor.
- Retest at both extremes: fully lowered and fully raised, full sit-stand excursion, then rotate the screen to portrait and back.
A cable that passes all three checks without tugging is routed correctly.
How ULTI's products and guides support this setup
ULTI monitor arms build these routing principles into the hardware itself, with integrated channels that follow the arm from base to head so the cable never runs exposed. Some monitor arm models add built-in USB 3.0 ports at the arm head, cutting down the number of cables you need to route back to the desk.
- Use the dual monitor arm setup guide for model-specific positioning before you start routing.
- Check the cable management guide for standing desks if your arm is mounted on a sit-stand desk with a grommet.
- Use the monitor arm compatibility checker if you're unsure whether a specific arm suits your desk thickness or monitor weight.
- Book the ULTI Installation Service if you'd rather have the routing and concealment done for you.
Concealment versus serviceability: which should you choose?
Full concealment looks good until you need to swap a monitor or add a second screen, and then every hidden run has to come back out. If you change devices often, keep runs labelled and modular rather than fully hidden, a habit backed by the multi-monitor cable management guidance on labelling both ends of a run.
Fixed installations can afford tighter concealment, but leave one access point uncovered. You'll thank yourself the first time a cable needs replacing.
— ULTI
Tidy cables start with the right hardware
Cable management works best when the hardware is built for it rather than added on afterwards. ULTI monitor arms route cables through integrated channels from base to head, so the sleeve-and-tray approach in this guide takes minutes rather than an afternoon of taping and re-taping.

For the under-desk half of the setup, the Clamp-on Under Desk Cable Management Spine fits most sit-stand desks without drilling, and works well alongside a Cable Management Tray Organizer for the power strip.
- Browse monitor arms with integrated cable channels and USB pass-through.
- Add a clamp-on cable management spine for the under-desk run.
- Book the ULTI Installation Service if you'd rather leave the routing and fitment to someone else.
Head to the monitor arms category to check compatibility with your desk and monitor before you buy.
Sources
- Secretlab MAGNUS monitor arm setup guide (EN)
- How to organise cables for your desk setup — HP
- Monitor arm cable routing — OfficeFurniture2go
- TV wall mount installation cost — FixMove
FAQ
Can I pay someone to manage my PC cables?
Yes, professional installers commonly handle cable concealment as part of a monitor or desk setup, and pricing for this kind of mounting and concealment work in Singapore typically starts from S$80 for a basic job, with more complex concealment costing more. If you'd rather skip the DIY steps, the ULTI Installation Service covers fitment and routing for ULTI monitor arms and desks.
How do I stop my monitor arm from swinging or catching on cables?
Swinging or catching usually means a cable is too tight at a pivot joint. Re-route the cable to add a service loop at the nearest joint rather than tightening the arm's tension, since a cable pulling on the arm can mimic a mechanical fault.
How can I organise my PC cables effectively?
Label each cable by function, then route the visible run through a sleeve and the excess slack into an under-desk tray or spine. This vertical-then-horizontal structure is what HP's guide points to for cutting visible clutter while keeping every cable easy to reach.
How do I manage cables in a rack-mounted or multi-device setup?
Use the same two-tier logic: bundle visible runs with sleeves or hook-and-loop ties, then route the bulk of the slack into a tray, labelling both ends of each cable as you go. Labelling makes it far quicker to trace and replace a single cable without disturbing the rest of the setup.
What cable lengths should I buy for a mounted monitor setup?
It depends on your configuration: 1.8 metres suits a PC mounted under the desk, 2.0 metres suits a desk riser setup, and 2.3 metres suits a vertical monitor stack. Always measure the routed path, including arm segments and under-desk routing, rather than the straight-line distance to your socket.