
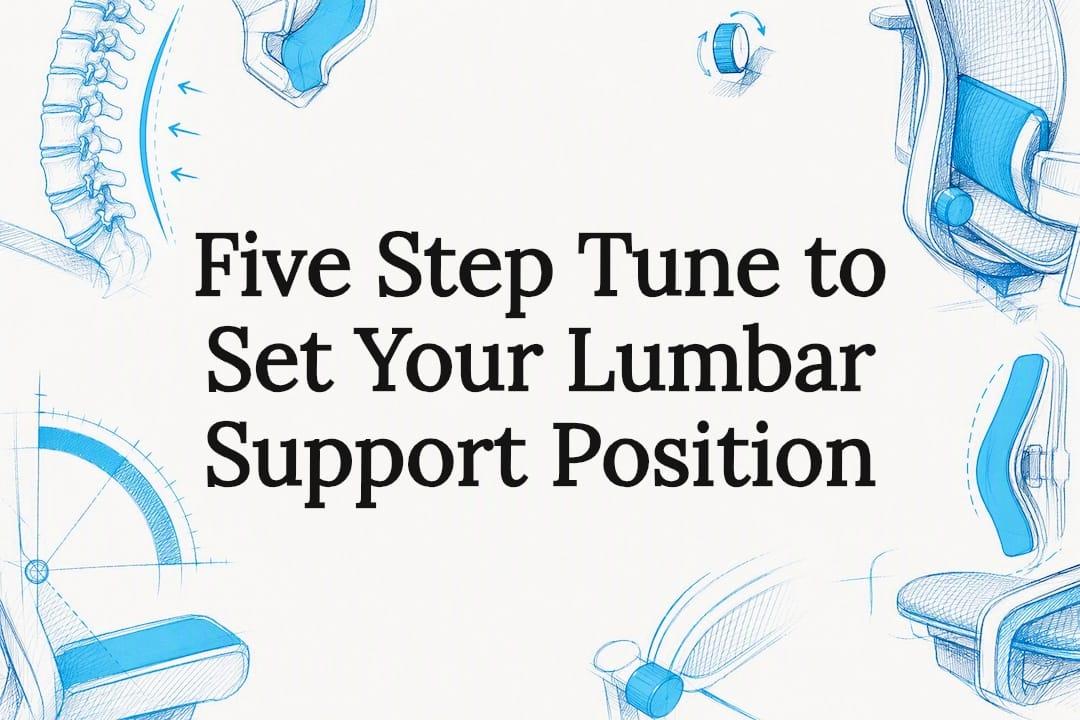
Place lumbar support so it contacts the small of your back, at the natural inward curve above the seat, with gentle, even pressure that fills your lumbar curve rather than pushing you forward. It should feel like the chair is quietly holding your spine's natural inward curve, not shoving your ribs ahead of your hips. Sit fully back, and if you can slide a flat hand behind your lower back with light resistance on both sides, you've got it right.
TL;DR:
- Proper lumbar support should contact the small of your back, positioned 2 to 4 inches above the seat, to support the natural inward curve without pushing forward.
- The lumbar height depends on your torso length, which can be identified by the hand-behind-back or seated wall tests, and should be set before adjusting depth.
- The support's depth must fill the lumbar curve evenly for comfort, avoiding excessive pressure that causes your torso to tip forward or lose contact.
- Correct seat height and depth are essential for effective lumbar support, with seat pan length and height affecting whether the support can be properly engaged.
- External supports or chairs with adjustable lumbar systems provide flexibility, but persistent pain may require professional assessment beyond simple adjustments.
Table of Contents
- Where exactly to place lumbar support on your chair
- Getting lumbar depth right without creating pressure points
- How to adjust lumbar support step by step
- How seat depth and seat height affect lumbar support
- Types of lumbar support and how to choose between them
- Signs your lumbar support is in the wrong position
- What the evidence says about lumbar support and back pain
- What actually fixes weekday back pain
- Finding a chair that actually holds its lumbar position
- Sources
- FAQ
Where exactly to place lumbar support on your chair
Your lumbar curve sits lower than most people assume. It's the inward bend just above your hips, not the middle of your back, and getting the height wrong is the single most common reason lumbar support fails to do anything useful.
Two simple tests find it fast:
- Hand-behind-back test: stand against a wall, slide your flat hand into the gap behind your lower back. The point where your hand fits most snugly, with contact on your palm but a slight gap remaining, is your lumbar curve.
- Seated wall test: sit in your chair as you normally would and notice where your back naturally arches inward. That's your target zone, not where you think "lower back support" should generically go.
Practical ergonomics guidance converges on 2 to 4 inches (5 to 10 cm) above the seat pan as a workable starting position for most adults. Shorter torsos often need support closer to the seat, while taller people usually need it set higher. This is a guide, not a rule. Torso length varies more than height does, so two people of the same height can need noticeably different lumbar settings.
Get the height right before touching depth. A perfectly padded lumbar support sitting an inch too high will press into your mid-back and push you into a slouch to escape it. Height establishes contact with the right part of your spine; depth only refines how firm that contact feels. Adjust in that order every time you reset a chair, whether it's your own or a shared desk you're borrowing for the afternoon.
Getting lumbar depth right without creating pressure points
Depth is about how far the support projects forward into your back, and it's where most people either overcorrect or barely notice a difference. Occupational health guidance on maintaining the lumbar lordosis, the natural inward curve of the lower spine, points to the same principle: support should fill that curve, not exaggerate it into an aggressive arch, according to the Mayo Clinic.
Here's how to tell where you stand:
- Too little depth: you feel a gap between your lower back and the support, and you catch yourself slouching to find contact.
- Correct depth: the support touches your lower back evenly across its width, your shoulders stay relaxed against the backrest, and you don't feel pushed forward in the seat.
- Too much depth: your torso tips forward, your shoulder blades lose contact with the backrest, and your lower back feels like it's being shoved rather than supported.
Start at the midpoint of your chair's depth adjustment, not at either extreme. Sit back fully, check the three signs above, then nudge the dial or lever in small increments, testing after each change rather than cranking it to a guess. Ergonomists frequently point to overcorrection, not underuse, as the reason people give up on adjustable lumbar supports entirely.
Pro Tip: If you can't decide between two depth settings, pick the shallower one. A support that's slightly too soft is far less disruptive than one that's pushing you out of your seat.
How to adjust lumbar support step by step
Lumbar position doesn't work in isolation. It's the last piece in a short sequence, and skipping the earlier steps is why so many people fiddle with the lumbar dial and never feel a difference.
- Set your seat height first. Feet flat on the floor, knees at roughly 90 degrees, thighs close to parallel with the ground. If your seat height is wrong, no lumbar setting will fix your posture, because you'll constantly be shifting to compensate.
- Sit back and locate your lumbar curve. Use the hand-behind-back test from the earlier section, then set lumbar height so the support sits at the midpoint of that curve.
- Adjust depth for gentle, even contact. You want full contact between your upper back and the backrest, not just your lower back. If your shoulders lift off the chair, depth is too aggressive.
- Check your seat depth for hip clearance. Sit fully back and check the gap between the seat edge and the back of your knees. You want roughly two to three finger-widths of space. Too little, and the seat edge digs in; too much, and you can't reach the backrest without slouching forward.
- Test with real tasks, then tweak. Type for ten minutes, reach for your monitor, twist to grab something from a drawer. Static testing misses the small pressure points that only show up once you're actually working.
This sequence mirrors the approach occupational health teams use when assessing workstations, starting with the seat and working outward to the finer adjustments, per Harvard's Environmental Health & Safety programme. If your chair allows independent adjustment of each element, run through all five steps once a month, particularly after switching desks or sharing a workstation with someone of a different height.
How seat depth and seat height affect lumbar support
A perfectly positioned lumbar cushion is useless if your seat pan won't let you sit back far enough to touch it. This is the trade-off nobody mentions when they hand you a lumbar adjustment diagram: the chair's other dimensions decide whether that diagram even applies to you.
- Seat too deep: if the seat pan is longer than your thighs, you either sit forward, away from the lumbar support entirely, or sit back and feel the seat edge cut into your knees. A firm cushion behind your lower back, or sitting slightly forward while keeping your feet flat, can bridge the gap temporarily.
- Seat height fights knee angle: if the seat sits too high, your feet dangle and you slide forward to reach the floor, pulling your back away from lumbar support in the process. Fix seat height before you touch anything lumbar related.
- When to compromise, and when to stop: an external cushion is a reasonable stopgap for a week or two. If you're still adjusting weeks later and your back never quite reaches the support, the chair's proportions likely don't suit your body, and it's worth trying a model with a shallower seat pan.
Types of lumbar support and how to choose between them
Not all lumbar systems are built the same way, and the right one depends on your chair, your torso, and how much fiddling you're willing to do.
- Fixed lumbar supports are moulded into the backrest at a set height and depth. They're inexpensive and fine if your torso happens to match the design, but they offer zero flexibility if it doesn't.
- Adjustable lumbar supports, height and depth dials built into the chair, are the most reliable option for most people, because they let you follow the exact sequence outlined above rather than hoping the manufacturer guessed your proportions correctly.
- External lumbar rolls and cushions are a practical fix for chairs with no built-in adjustment, particularly shared desks or older furniture. They need to be strapped or wedged in place, though; an unsecured roll migrates within a day and ends up doing more harm than good, according to Ergonomic Trends.
- Dynamic and mesh-back supports flex with your movement rather than holding a fixed shape. Some people find this more comfortable through the day; others find it too soft to locate their curve reliably. Test before committing.
If you're weighing a new chair purely for its lumbar system, an ergonomic chair buying guide can help you compare adjustment ranges before you order.
Signs your lumbar support is in the wrong position
Your body tells you fairly quickly when lumbar support is mispositioned, but the signals point in different directions depending on the error.
- Too high: pressure between your shoulder blades, a tendency to lean forward to escape it, and a lower back that feels unsupported despite the cushion being right there. Lower the support.
- Too low: pressure on your tailbone or sacrum, and a slow slide back into slouching because the support is sitting below the curve it's meant to fill. Raise it.
- Too deep: you feel pushed away from the backrest and your shoulders lose contact with it. Reduce depth or switch to a softer cushion.
Low back pain remains one of the leading causes of disability worldwide, and small workstation adjustments are one of the few levers within your direct control. Give any change one to two full working days before judging it. A setting that feels slightly odd on day one often settles once your muscles stop compensating for the old position.
What the evidence says about lumbar support and back pain
Preserving the lumbar lordosis, the spine's natural inward curve, reduces the mechanical load your lower back carries through the day, a point reflected consistently across major health guidance. The Mayo Clinic and Cleveland Clinic both frame lumbar support as a means of maintaining that curve rather than correcting posture from scratch, which lines up with the fill-don't-force approach covered above.
UCLA Health's guidance on prolonged sitting makes a point worth repeating: seating needs individual tuning, and a support that feels natural beats one that forces a textbook posture. That's consistent with starting adjustments at mid-range rather than an extreme, then testing in small steps.
A few habits worth building alongside any lumbar adjustment:
- Recheck your setup after any change in desk, chair, or even shoes, since heel height shifts your seat height needs.
- Pair lumbar adjustment with a broader look at your work-from-home ergonomic setup, since monitor height and desk height both affect how you sit.
- If pain persists after two weeks of correct positioning, treat that as a signal to see a physiotherapist rather than keep tweaking dials.
What actually fixes weekday back pain
Most of the discomfort people bring to us traces back to one of two things: the lumbar support sitting an inch or two off target, or a seat pan that never let their back reach it in the first place. Fixing the position, not buying a firmer cushion, is usually what resolves it.
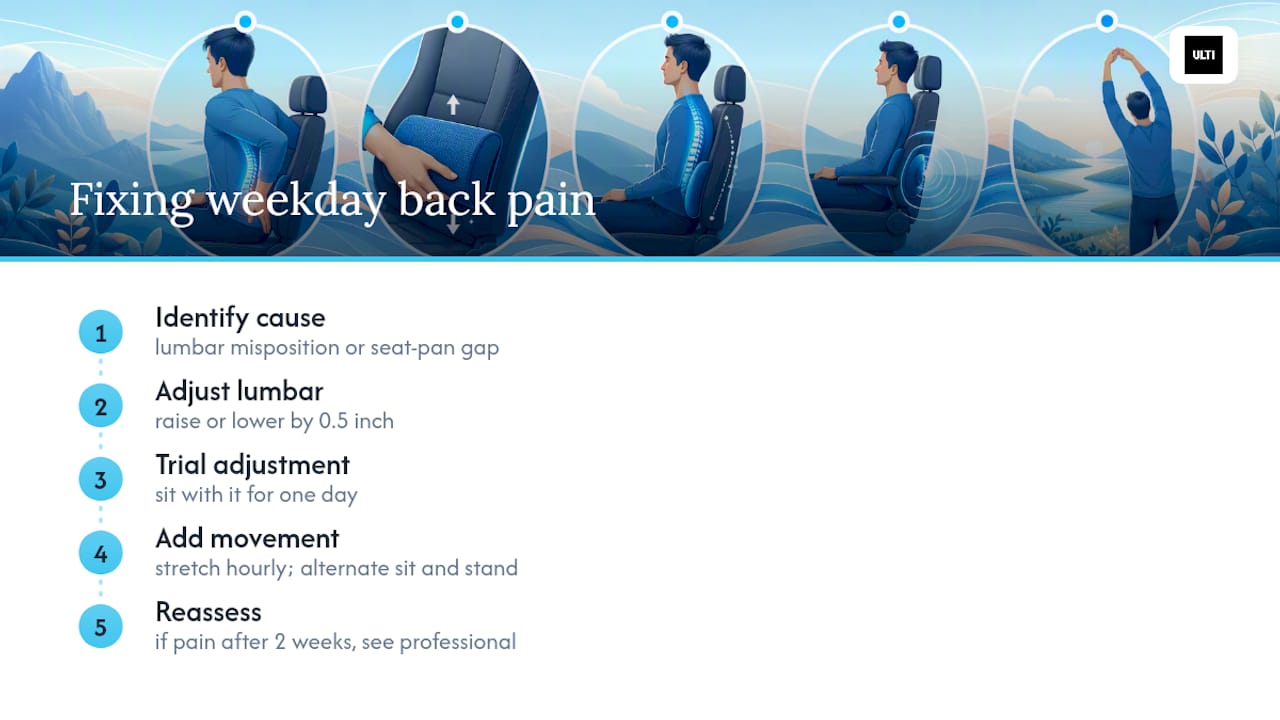
Small, iterative changes beat one dramatic overhaul. Move the lumbar height half an inch, sit with it for a day, then decide. Pair that with basic movement, a stretch every hour, alternating between sitting and standing if your desk allows it, and you'll get more relief than from any single adjustment on its own.
If pain persists after a fortnight of careful tuning, that's no longer a chair problem. It's worth a conversation with a physiotherapist or an occupational health assessment, because no amount of dial-turning fixes an underlying issue.
— ULTI
Finding a chair that actually holds its lumbar position
If you've run through every adjustment above and your current chair still won't hold a position that fits, the chair itself is the limiting factor, not your technique. Some ergonomic mesh chairs offer independently adjustable lumbar height and depth, seat depth, and recline, designed to avoid fighting a fixed shape that was made for someone else's torso.

Browse the ergonomic chair range if you want a seat that lets you dial in the exact position covered in this guide, or use the chair finder tool to match your height and proportions to a suitable model in a couple of minutes. Combine a properly adjusted chair with a monitor arm set at the right height and you've solved two of the biggest contributors to slouching in one go. Visit Ulti to compare options, or head straight to the chair finder to get a recommendation based on your own measurements.
Sources
- World Health Organization — Low back pain
- Mayo Clinic — Back pain overview
- Harvard EHS — Ergonomics programme
- Cleveland Clinic — Lumbar spine overview
- UCLA Health — Ergonomics for prolonged sitting
FAQ
How do you tell if you need lumbar support?
If you notice yourself slouching within an hour of sitting down, or you feel dull ache low in your back by mid-afternoon, your current chair likely isn't supporting your lumbar curve properly.
How many hours should I wear lumbar support?
There's no fixed hourly limit. Lumbar support is meant for whenever you're seated at a desk, though standing up or shifting position every hour matters just as much as the support itself.
Is lumbar support good for back pain?
Yes, for pain linked to poor sitting posture. Maintaining the lumbar curve reduces mechanical strain on the lower spine, though persistent or severe pain still warrants a proper assessment rather than a chair adjustment alone.
Where is lumbar support meant to be?
It should sit at the small of your back, roughly 2 to 4 inches (5 to 10 cm) above the seat, filling the natural inward curve rather than sitting against your mid-back or your tailbone.